Order Up! One 318 with Super Charger to go go go!
Bob Woods at The Super Charger Store ( www.thesuperchargerstore.com) is one of our dealers and a good friend; he is always calling to discuss various engine combinations. One of those discussion centered around the viability of building a super charged small block that would equal or exceed a normally aspirated, big block stroker engine’s power and torque, with better fuel mileage, all on pump gas. Out of those discussions this project evolved. The idea of making the project as impressive as possible challenged us to use the tiny 318 instead of the more obvious 360” or 408” stroker. Not only that, but there are no heavy duty 318 blocks that are available, so we are really stacking the deck against our project’s success. Can it be done? Are we as good as we think we are? Follow along to see!
BLOCK:
The choice of using a 318 almost ended our project before it started, because 318 blocks, thanks to the ill.-conceived Clunkers Program, are in much shorter supply. Finding one that met our specs as far as cylinder wall thickness means we had to kiss a lot of frogs before we found a princess.
The first thing we do, before starting to Race-Prep a cylinder block is ultrasonic test the cylinder wall thickness. Some good blocks can easily be rejected if a thorough test isn’t performed; we’ve tested walls that have minor dime sized thin spots that might be rejected if a very complete test is not performed. We check all walls in at least 12 places and more if we are trying to determine the area of the thin spot.
After a block is determined to have good walls it gets inspected for general condition, rust damage, threads, sizes, etc... Then it is stripped of cam bearings, freeze plugs, etc, and pressure washed. When it’s dry, it is magnetic particle inspected for cracks and then the cooling system is pressure tested up to 30 p.s.i. If the block passes all these tests, it is ready to be worked on. All threaded holes are chased and oil passages inspected, enlarged and blended as require to blue-print the system. Once blue-printed, a standard volume oil pump will be more than adequate to supply this engine.
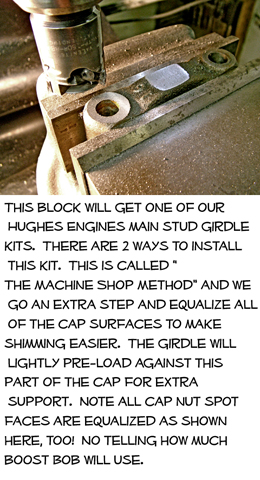
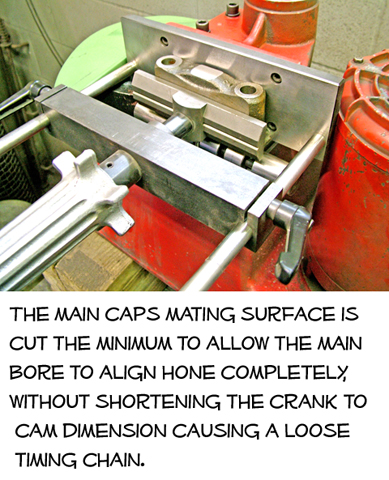
Although, the small block oil system changes sizes over 16 times, creating a hydraulic nightmare, when it is properly blue printed it works very well. There is more of a problem with keeping oil away from where it shouldn’t be instead of getting it where it needs to be. The technology in getting power out of engines today is very interesting and leading edge stuff. In the oiling systems, especially the wet sump systems like we are using here, there have been lots of oil control methods come on line. Oil pans with specially designed sumps, scrapers, screens, etc… In fact, recent dyno test have shown some OEM windage tray do the opposite of what they are supposed to do. They actually splash the oil back into the crank assembly exacerbating the windage problem. In our engine, the Hughes Engines main girdle fits fairly close to the crank/rod assembly and is worth 12 H.P. just as a scraper. When using this girdle, even on a non-supercharged engine, no windage tray is used. The main stud girdle serves a more basic purpose than scraping oil off of the crank assembly. It ties all main caps together and stiffens up the lower end considerably. It is considerably less expensive and is more functional than add-on 4 bolt caps.
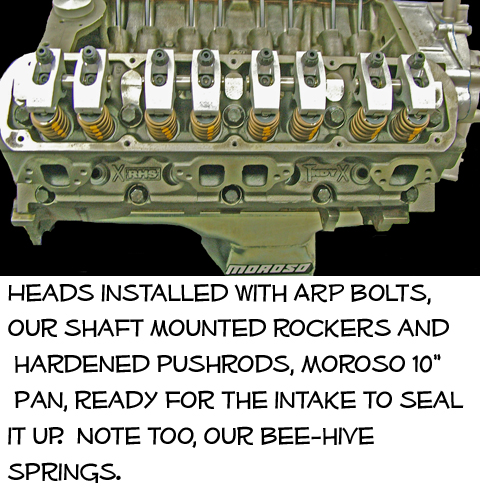
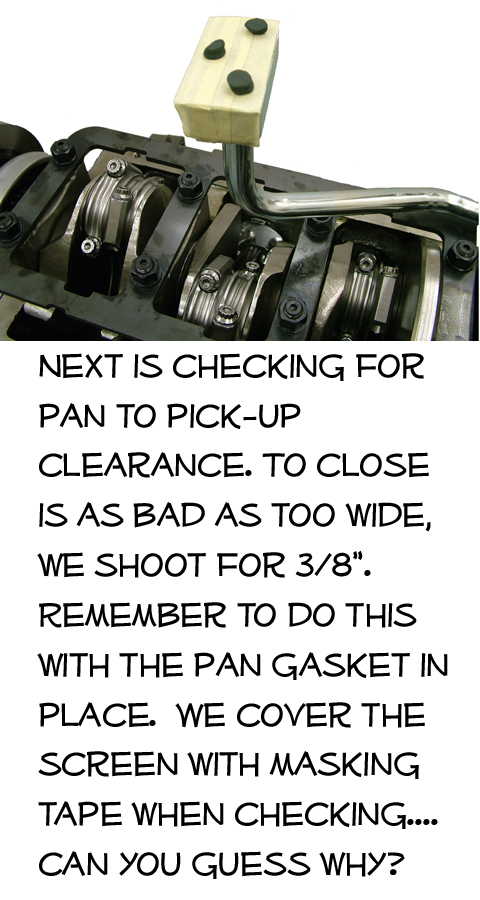
One area of the oil system that needs to be blue printed is the rear (#5) main cap. The oil exiting passage in the pump rarely lines up properly with the receiving passage in the pump. We “port out” the step over area in the cap to eliminate the restriction. The 10” deep Moroso pan is mis-leadingly labeled as an 8 qt. pan. The reason for the deep pan is to get the oil level down away from the crank assembly not to hold extra oil. We only need 6 quarts in the system. Especially with the standard volume pump-this may even be too much!
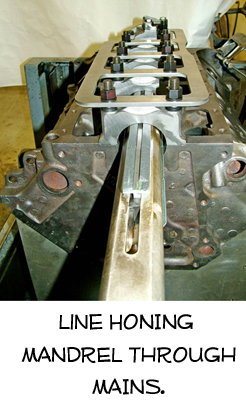
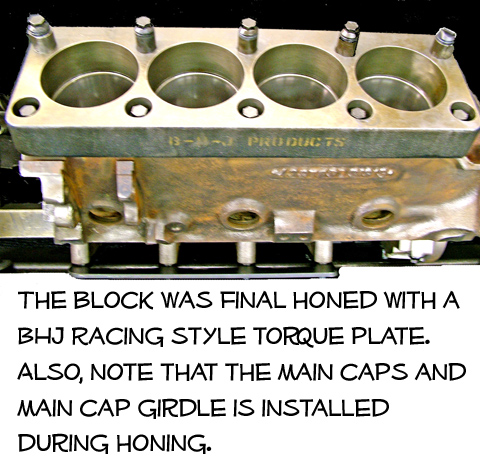
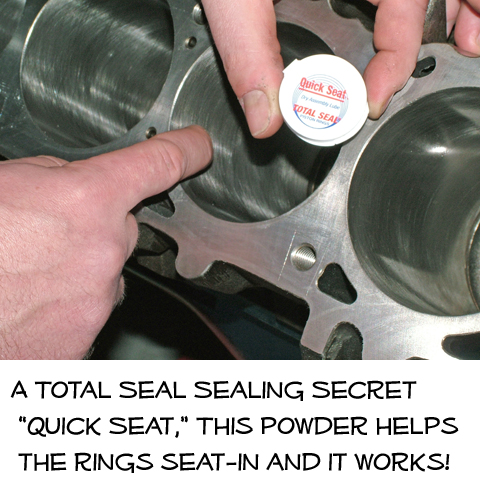
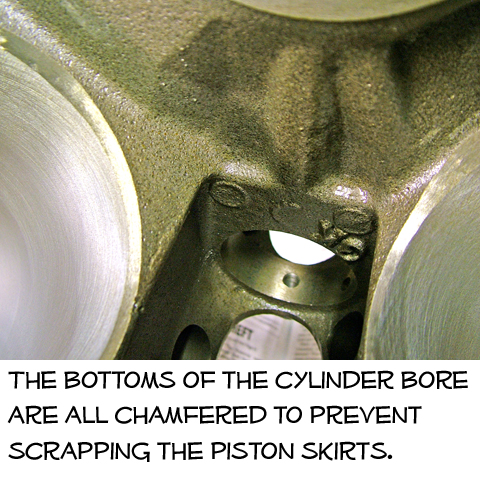
The block cylinders are bored square to the main bores which reduces rotating friction and reduces wear on the pistons and walls. Honing is almost an art in performance engines, a delicate balance between friction, sealing and wear. Like most shops we have a few of our own ideas but this time we added Total Seals “Quick Seat” dry film cylinder wall lubricant to our procedure. To say it worked great is an understatement. After break-in, we test cylinder cranking pressure to see how well the rings are sealing. The pressure is important but what we consider more important is how many rotations the crank must make to achieve the maximum pressure. We accept no more than 3 rotations. Good engines will do this in 2-3 rotations. This engine had 4 cylinders that did it in one rotation and the others barely took 2, Excellent! This is going to be a good one!
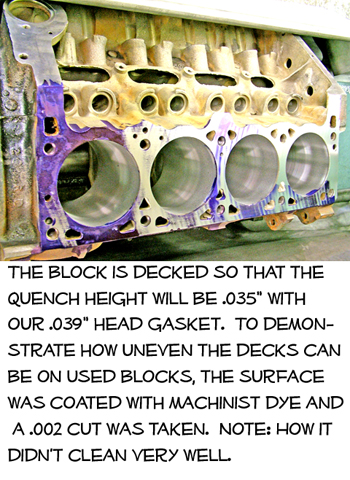
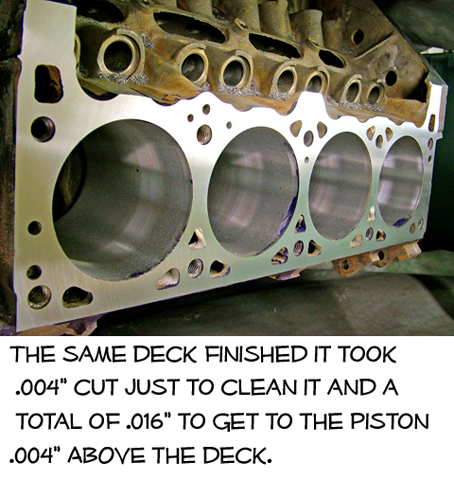
Note in the photo #_10_ that the deck surface was coated with machinist dye, the blue stuff, before a light cut was taken. The cut in this photo was .002” it took a total of .004” just to get the deck to clean. Notice how uneven the surface is. This is why cutting the decks is so important when building a performance engine. From the highest to the lowest corner it took .016” cut to get all 4 corners equal. When it cleaned up you could almost see your reflection.
CRANK ASSEMBLY:
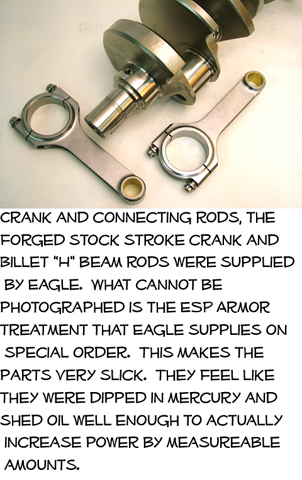
EAGLE supplied us with one of their forged crankshafts with stock 318 dimensions and a set of their ESP “H” beam rods, also with stock 318 dimensions.
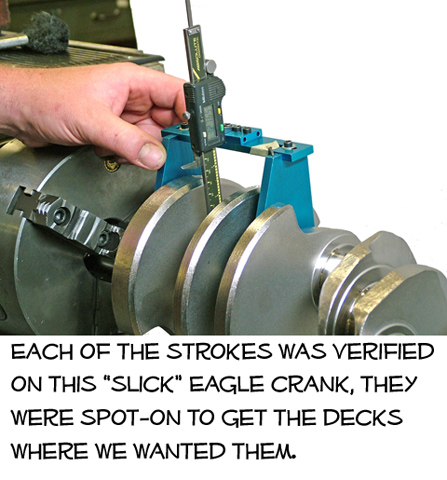
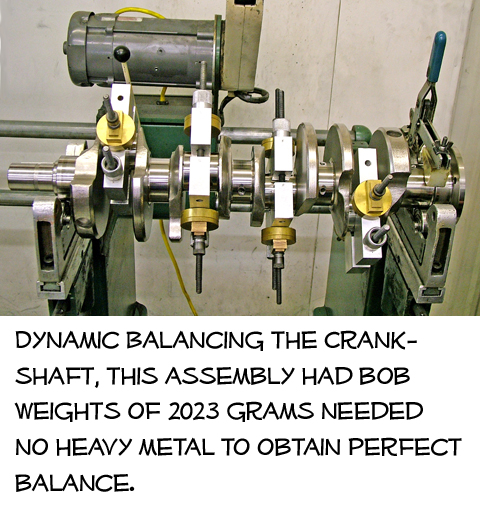
The Eagle crank and “H” beam rods were treated with their new “ESP ARMOR” surface finishing process. The crankshaft and rods look like they are chrome plated and they feel like they have been dipped in Teflon®-very slippery. This super slick surface sheds oil so much better than the natural finish that it frees up more power at the flywheel. Feel the crank and rods and you will believe it. These ESP ARMOR treated surfaces are another example of leading edge oil control to free-up more “free” horsepower. The Eagle crank and rods checked “spot on” dimensionally, and were easy to balance (no heavy metal was required) these guys have done their home work.
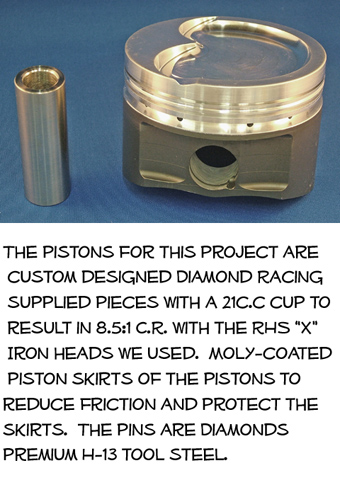
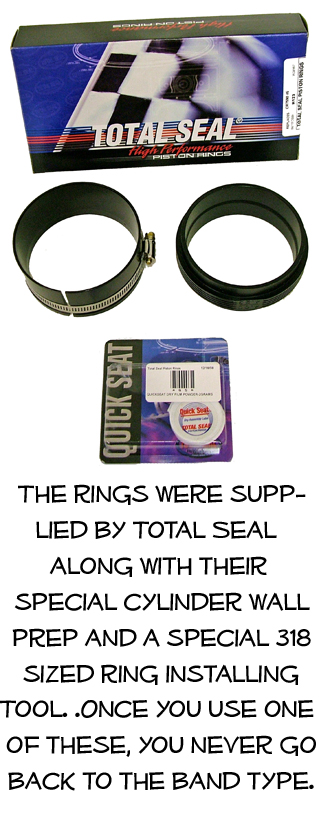
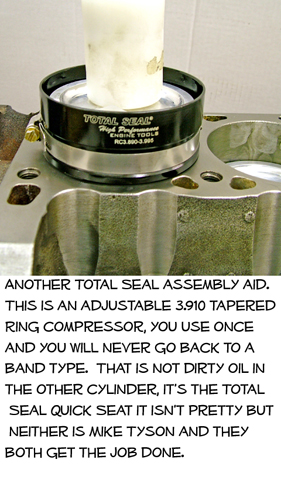
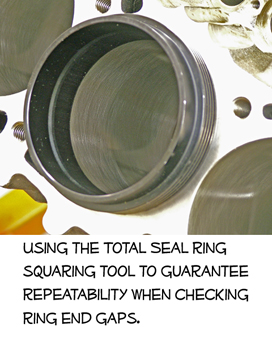
The pistons were supplied by DIAMOND Racing Pistons. They are a custom piece with a 21c.c. dish and coated skirts. The coatings are another triumph for technology that protects pistons and they reduce friction giving us even more “free” horsepower. The rings and some cool assembly tools were supplied by TOTAL SEAL. We chose the metric size ring set for reduced friction from ring drag. This really works, we see approximately 30-35% reduction in torque required to rotate the crankshaft when using these rings. More free horsepower! Bob’s gonna love this engine!
HEADS:
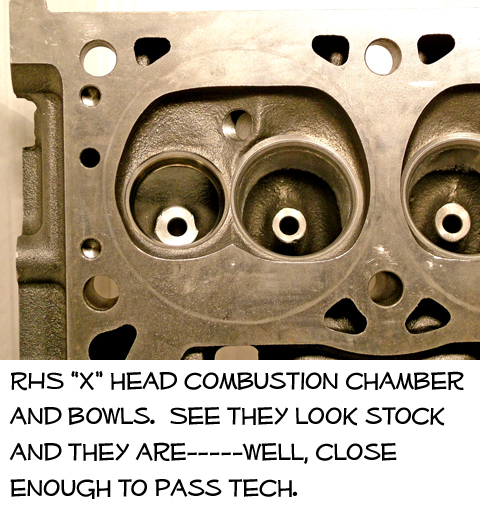
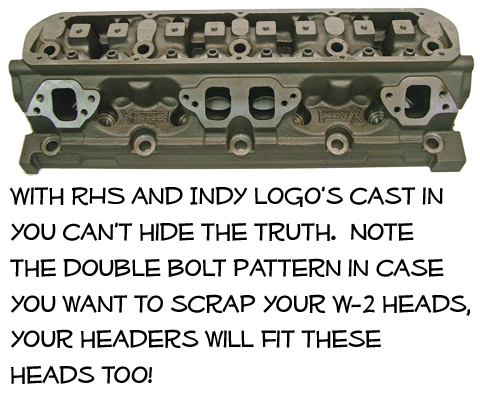
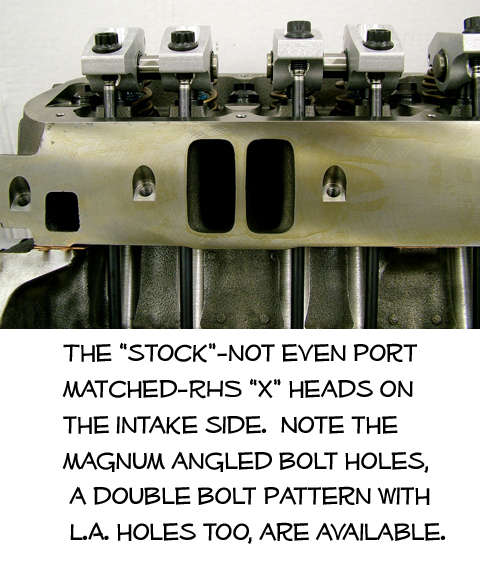
R.H.S. donated a pair of their new “X” heads for the project. These heads are a unique design that is basically a magnum head with better flowing ports. They flow much better than stock heads! They come in 2 versions. One version replaces the OEM magnum heads (1992-2003) where the entire magnum O.E.M. parts; valves, rockers, accessories, covers, etc… can be used without modification. The second is a modern replacement for the old L.A. head (’68-’92) hence the “X” replacement designation. On this second version, the heads will use a 5 bolt L.A. valve cover, L.A. shaft style rocker arms and oil system and it has the L.A. angle for the intake bolts. Other than these 3 areas, the “internals” of the heads are the same. We chose the magnum version for this project. The hardened exhaust seats are pressed-in like heavy duty trucks or diesel heads and the out of production Mopar Performance R/T heads. This reduces the potential for cracking like the O.E.M. heads. The important point in the power potential area is the better than stock magnum, or L.A., air flow along with even better potential flow, when ported, over the heads they replace. On our bench they were better, out of the box, with the 1.92” intake valve and 1.62” exhaust valves than the L.A., magnums, or R/T’s with a 2.02” and some bowl work. For this project engine we used our Hughes Engines swirl polished, chrome stem stainless steel 2.02”int. -1.62” ex. valves. The valve seats and valve preparation has our own proprietary angles and the bowls have some slight blending but no porting. Otherwise, the heads are as received. See Chart #2
CAM AND VALVE TRAIN:
Although the block was a “Tweener,” half way between an L.A. and a magnum, by virtue of it being an L.A. engine designed to use hydraulic roller lifters like the magnum engines. The cam is our “real” Chrysler HEH2332AL flat tappet cam with a 113º L.S.A., 223º at .050” intake, 232º at .050” on the exhaust with .556” intake lift and .589 on the exhaust. These lifts are with the new Hughes Engines 1.65:1 shaft mounted “real” Chrysler rocker arms. The small size and the wide lobe separation really kill the power in a small displacement engine like this, but are necessary for the super-charge to work right. One of the trade-offs that we must put up with dynoing it with out the blower is that it won’t look good until the blower is installed. The things we do for Bob!
We chose a flat tappet cam instead of the more glamorous hydraulic roller because some, falsely, think this makes our ultimate goal more difficult, power wise.
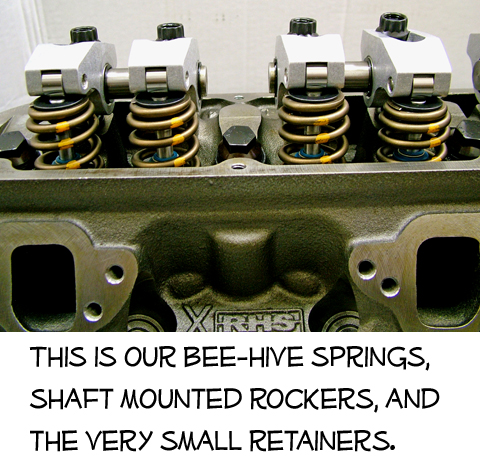
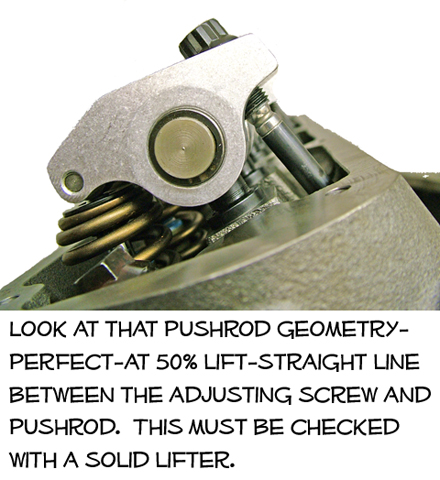
Our latest “real” Chrysler rockers are a pair of shaft mounted rockers for each cylinder for the magnum style heads, with a 1.65:1 ratio. These high lift beauties are fully rollerized, adjustable and oil thru the pushrods and lifters. They do not need guide plates or hardened pushrods. However, hardened pushrods are more rigid and are used in this engine. These shaft mounted rockers are sturdier than stud mounted rockers with a girdle. It’s a shame we have to cover them up, but we will with a pair of our fabricated aluminum valve covers with our logo engraved on them.
ASSEMBLY:
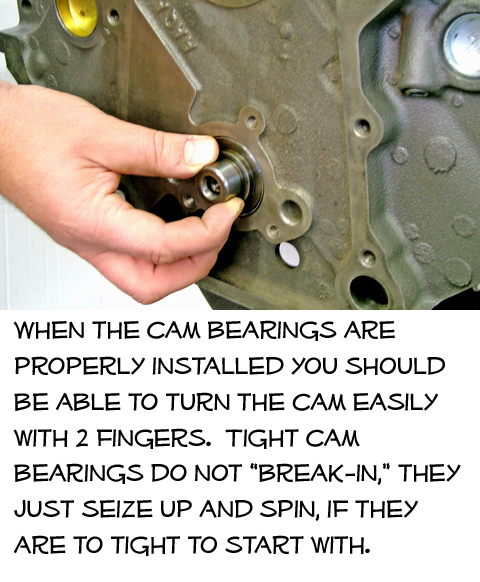
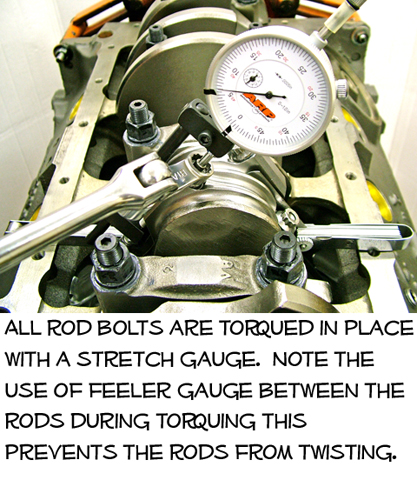
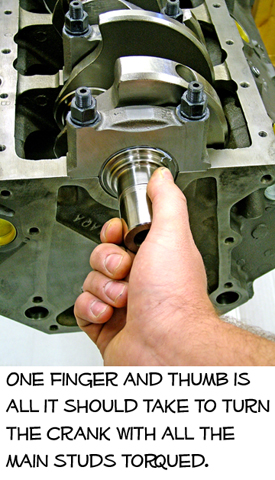
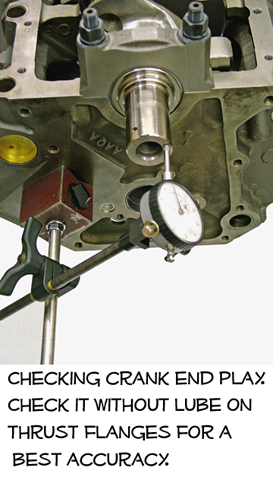
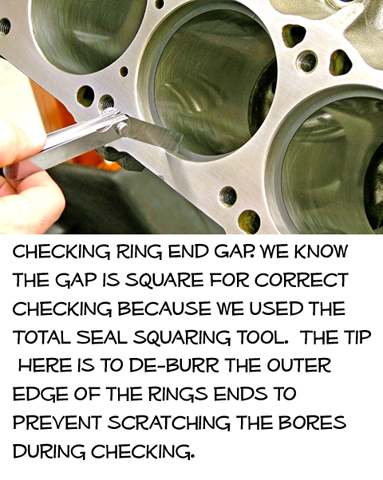
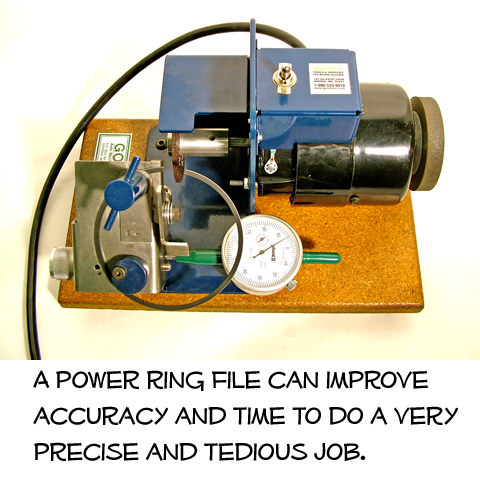
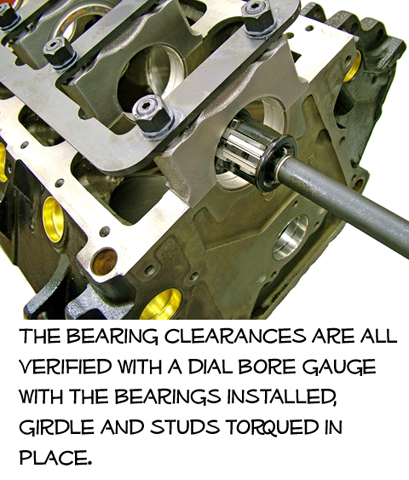
The assembly is fairly straight forward as this is just a stock 318”. There are a few things that can help make the job easier and more powerful. The main and rod clearances are on what might be considered the snug side, the crank can be turned with 2 fingers and the short block only takes 15-17 pounds feet torque to rotate. If the machining is accurate loose clearances aren’t necessary and oil control is better. We run wider gaps on second rings to prevent pressure build-up between the rings. If you notice in the photos, we take lots of pains to reduce friction.
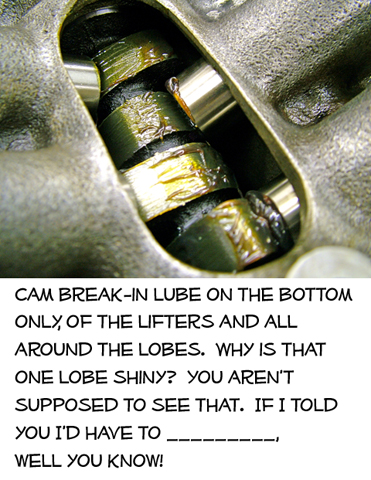
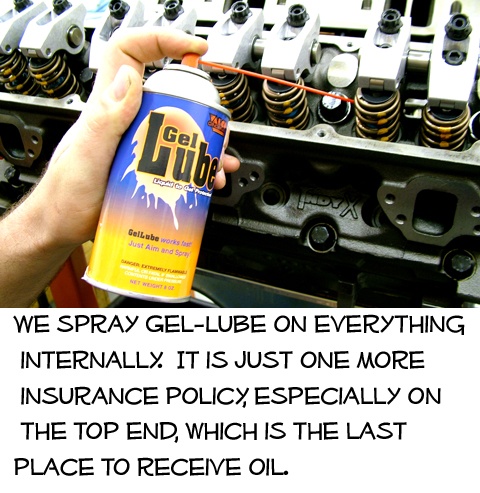
After assembly the engine was broken-in on a start-up stand, disassembled, and checked before it was sent to be abused at The Super Charger Store.
Dyno Test Results without the supercharger installed.
Click on any chart to enlarge
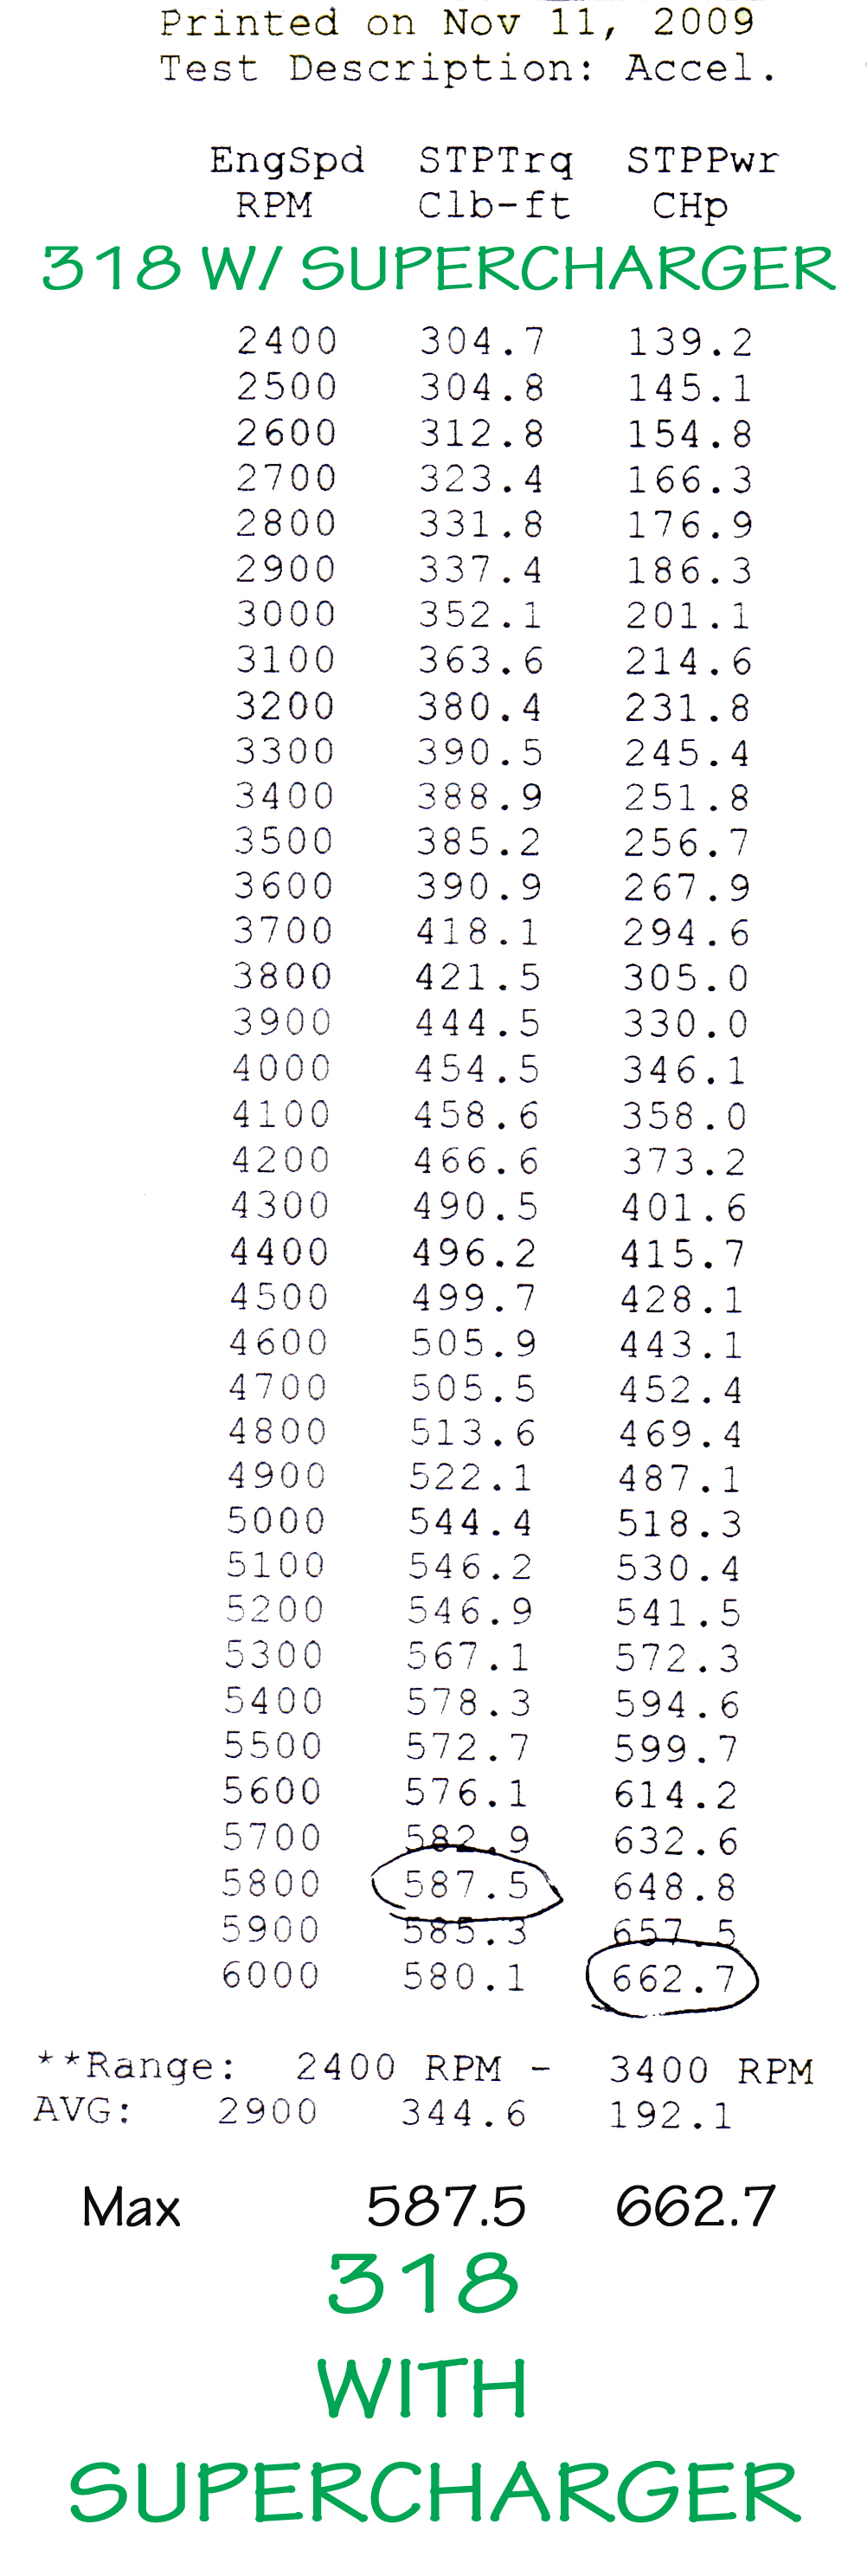
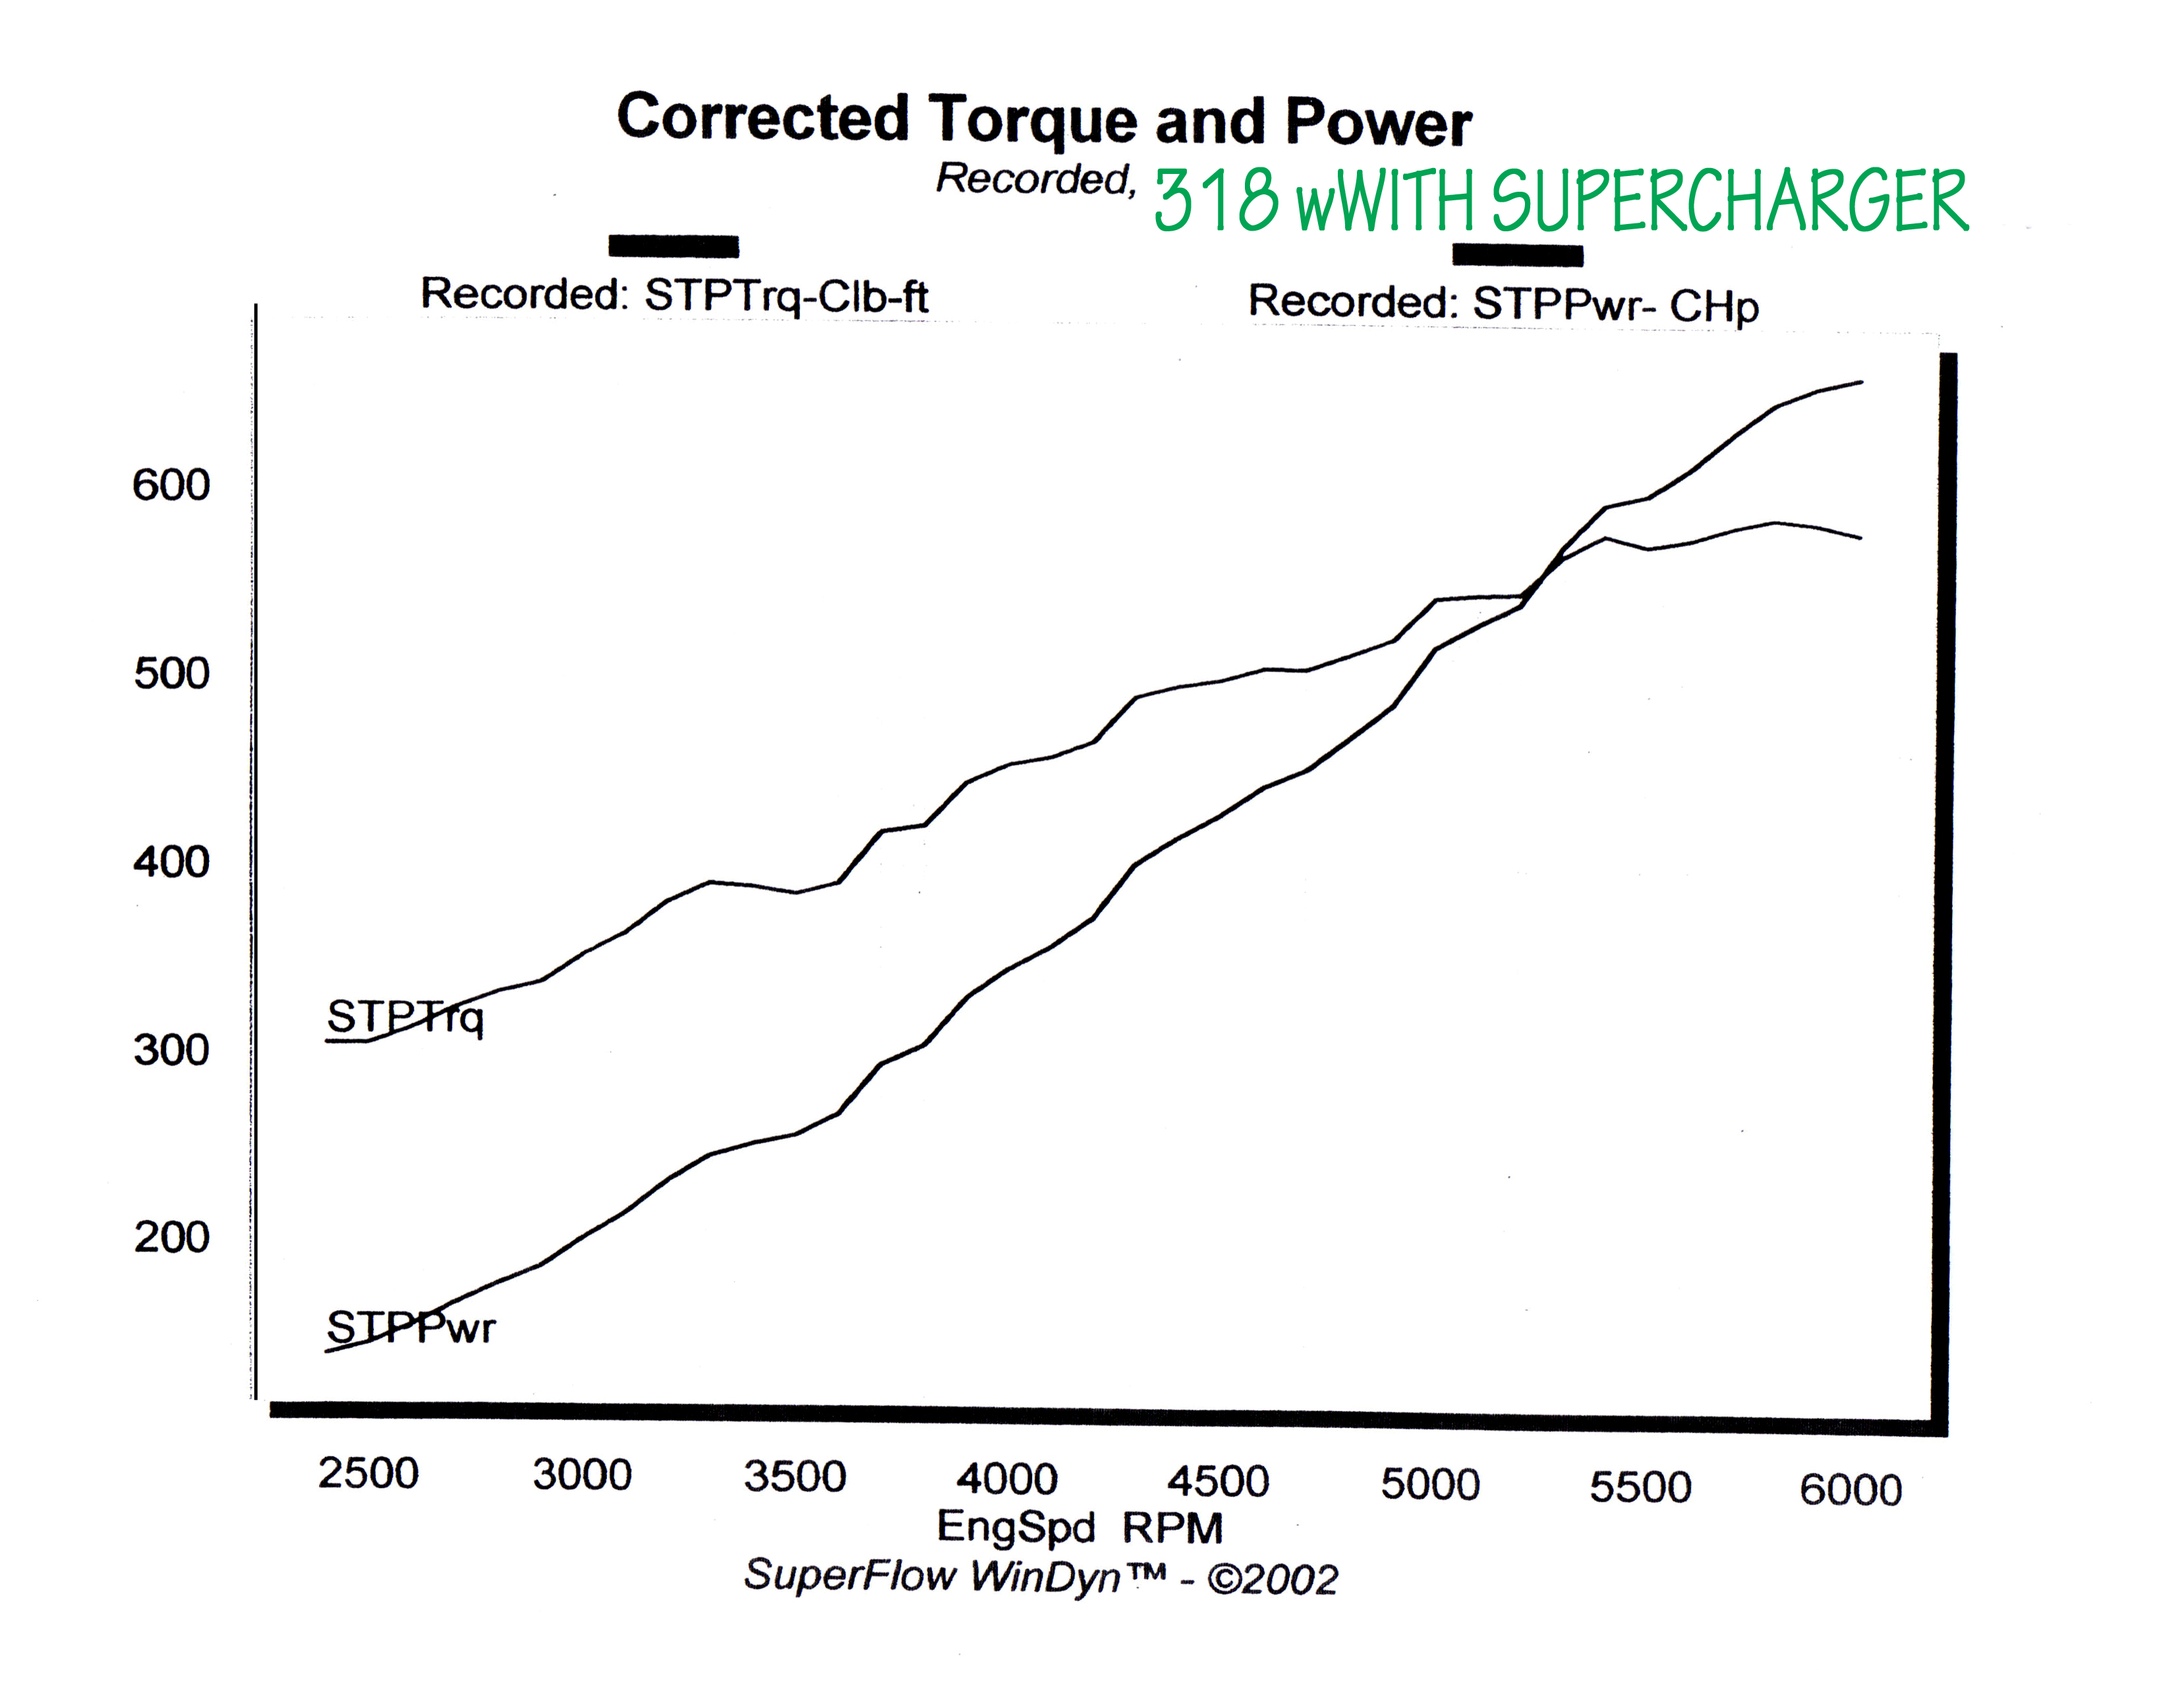
Dyno Test Results with the supercharger installed.
Click on any chart to enlarge



| 


